General
List of SharePoint workflow actions
- E-mail Processing
- Documents and folders processing
- List items processing
- Permissions management
- Azure AD Administration
- Administration
- SharePoint Utils
- String Processing Advanced
- String processing (Free)
- Social integration
Installation
Troubleshooting
Community forums
How-to
- Manage workflow credentials with the help of Credentials Manager
- Work with dictionaries, collections and loops
- Create HelpDesk on SharePoint 2013\2016\2019\SE\Online
- Use free string processing workflow actions
- Start SharePoint 2013 Workflows on Selected Items
- Deal with SharePoint 2013 Designer and Workflow Tips, Tricks & Traps
- Generate PDF file from template
- Move documents in current site and cross-site
- Send bulk e-mail with attachments to external users
- Create site by custom template and grant permissions
- Automatically create Microsoft 365 user accounts
- Send periodic expiration email notifications
- Deploy custom workflows with site template
- Change Author field in SharePoint list Item
- How to check-in multiple files
- Copy document set to another library
- How to copy list item with attachments across site collections
- How to create or update a list item at any site
- How to use dynamic text and HTML templates
- Invite external users to SharePoint Online site
- Manage credentials for workflow actions on site level
- How to move list item attachments to document set
- Query multiple lists across multiple sites and group results
- Send emails with attachments to external users
- Set item level permissions (break role inheritance and assign permissions)
- Use Call SharePoint REST Service instead of standard Call HTTP Web Service
- Use different Get items actions to query lists
- Use Get Items by Query action (REST)
- Deal with deprecation of sandbox code based solutions
Videos
- How to move documents or folders within single site or cross-site
- How to send list item attachments by e-mail
Additional resources
Installation for SharePoint Online
Install
Please, download the WSP package.
Go to your SharePoint Online site. At the site collection, click Site Actions, choose Site Settings.
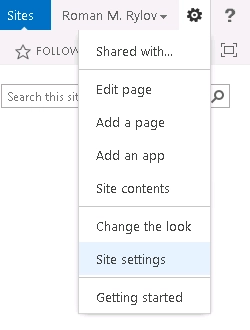
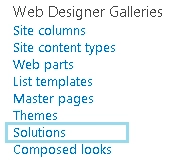
On the Site Settings page, click Solutions (_catalogs/solutions/Forms/AllItems.aspx) under Web Designer Galleries section.
Upload WSP package to your Solution gallery
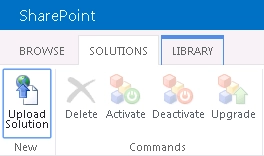
Click Activate button in the ribbon.
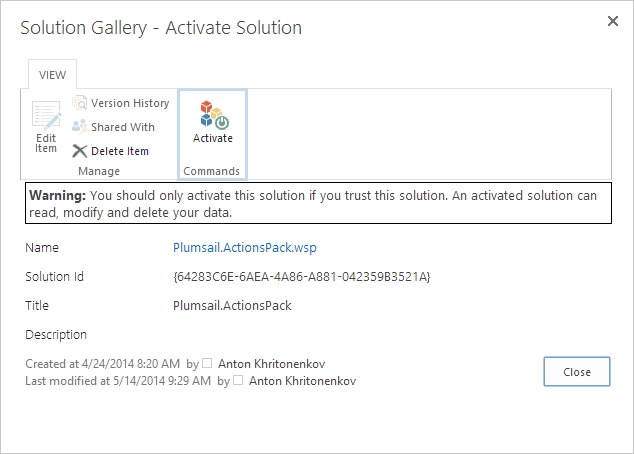
Next, you have to activate feature on your site. Go to site settings page and select Manage site features
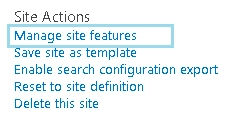
Find feature called Plumsail Workflow Actions Pack and click Activate

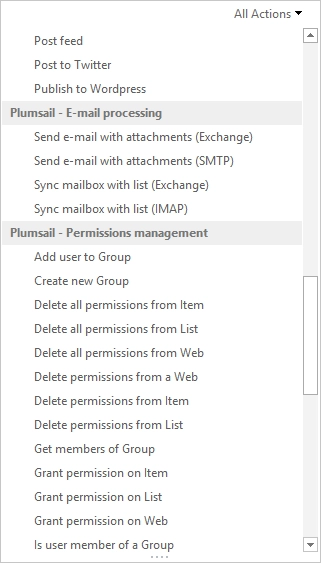
Now, you can find the following actions in SharePoint Designer under Plumsail section
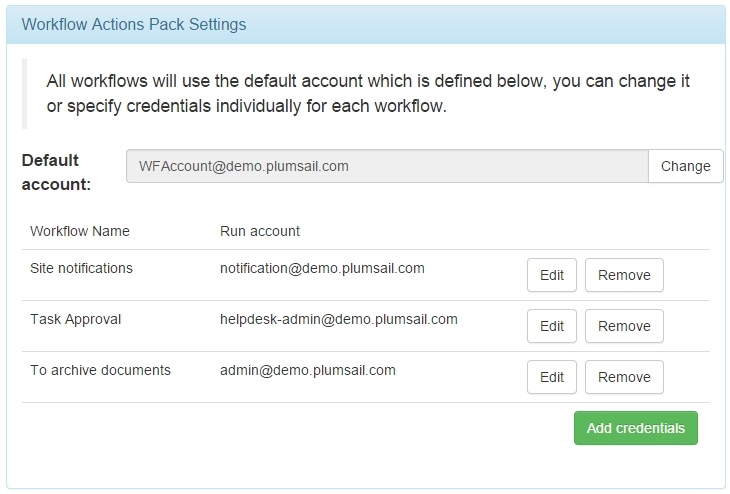
One more step is required to configure default account, which will be used to start workflows. Please open Site Settings and click on the link Plumsail Workflow Actions Pack at Site Administration Section. On the settings page you can configure the workflows’ credentials to know more about it please visit the following link
Install license
Buy license for each domain where you are going to use Workflow Actions Pack. Specify them in the order details.
After the payment your installations will be activated automatically within one day.
Uninstall
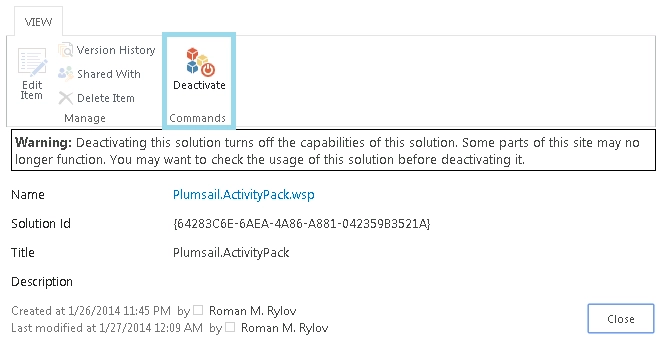
Go to Site Settings → Solutions, select solution and click Deactivate from its context menu
Upgrade
Firstly, you have to deactivate Plumsail Workflow Actions Pack feature at the site level and deactivate Plumsail.ActionsPack.wsp solution in the solution gallery.
Then, upload a new WSP package to your Solution gallery:

Click Activate button in the ribbon.

Then, you have to activate the Plumsail Workflow Actions Pack feature on your site. Go to site settings page and select Manage site features

Find the feature called Plumsail Actions Pack for SharePoint Designer and click Activate

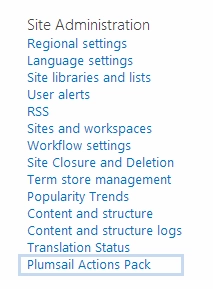
Now when the new solution is uploaded and activated we need to upgrade workflows which use Workflow Actions Pack. Navigate to Site settings of the SharePoint site and click Workflow Actions Pack in the Site Administration category.
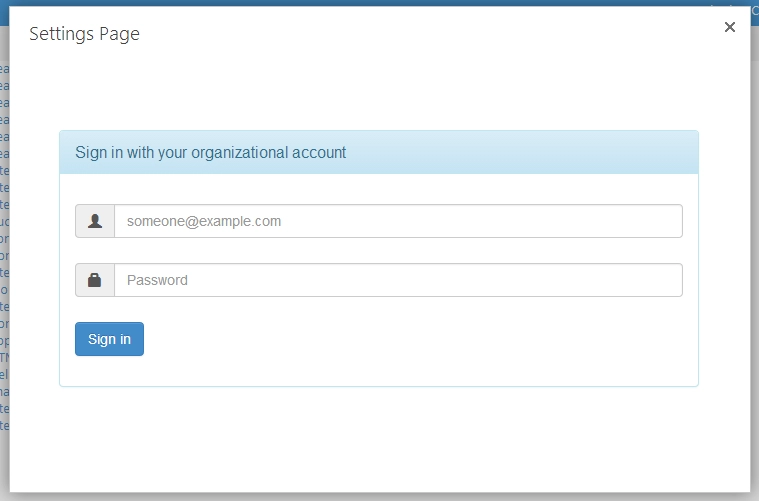
In the window fill credentials for your Microsoft 365 account and click Sign in
If any of workflows are required to upgrade, you should see the upgrade notification, otherwise all alright.
Then click Upgrade to upgrade the workflow. Please pay attention on Version history page in some cases you need to do additional actions.
Issues
Issue with installation to public site
Installation of Workflow Actions Pack requires some additional steps. Please read this instruction: How to install sandbox solution to an Microsoft 365 public site
SharePoint Designer issues
SharePoint Designer stores cached workflow actions, that is why after solution upgrade you may need to perform few actions. You need to clear SharePoint Designer 2013 cache, otherwise it can show you the error message because it uses old cached version of workflow actions. To clear cache you need to execute following command from the command line as administrator on your PC and reopen SharePoint Designer:
rmdir "%LOCALAPPDATA%\Microsoft\WebsiteCache\" /s /q
rmdir "%APPDATA%\Microsoft\SharePoint Designer\ProxyAssemblyCache\" /s /q
Or you can download and execute the bat file.
After clearing the cache and running SharePoint Designer you may need to close and open SharePoint Designer one more time, then the error should disappear. We also recommend to install recent updates for SharePoint Designer 2013. This will help to avoid annoying error when configuring workflows.
We also recommend to install recent updates for SharePoint Designer 2013. This will help to avoid annoying error when configuring workflows.